a lot of people asked me for a tutorial for my ipod cozies. so here it is:
STEP 1
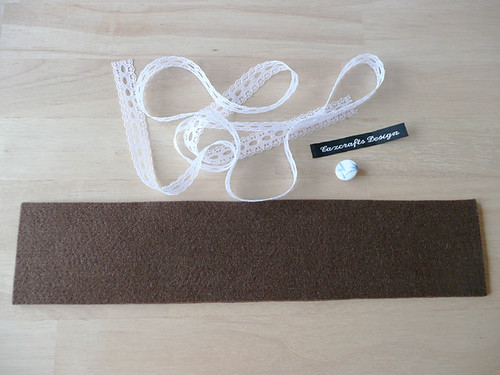
you need:
- a piece of thick felt (3 mm or 3.5 mm) that measures 30 cm x 6.3 cm
- ribbon or anything you want to use as decoration
- your label (if you have one)
- a button
- a keyring (not on photo)
- yarn (not on photo)
- a sewing machine (not on photo)
STEP 2
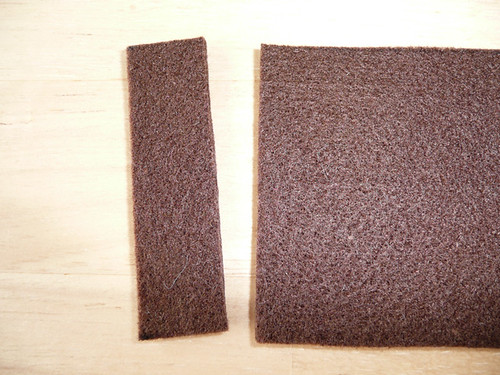
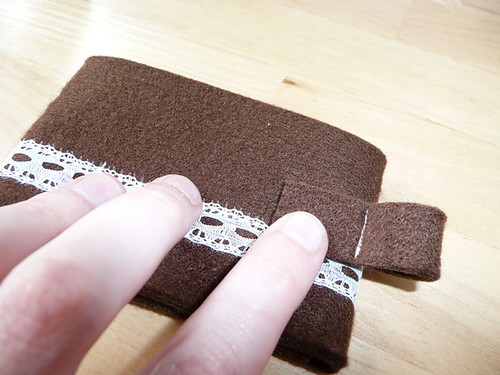
cut a 1.5cm piece from the bigger felt piece. you’ll need the strap to attach the keyring.
STEP 3
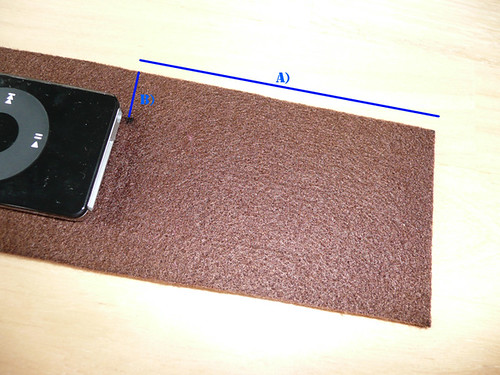
mark where the hole for the headphone cable needs to be. i usually put my ipod on the felt to see where i need to put it exactly. to give you an idea:
now you need to push a hole through the felt for the headphones. if you have a ticket-punch – brilliant. but you can use anything really. i use the things that come with snap fasteners (one of those metal things, a plastic underlay and a hammer).
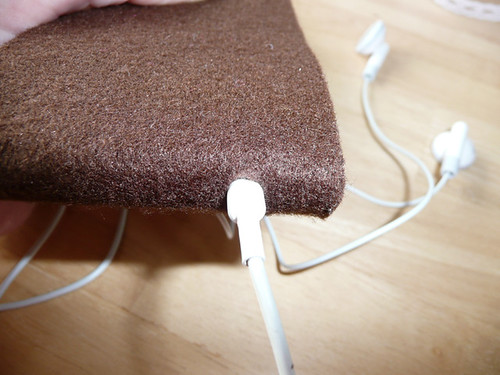
make sure the hole is big enough for the base of the headphone cable and fits snugly.
STEP 4
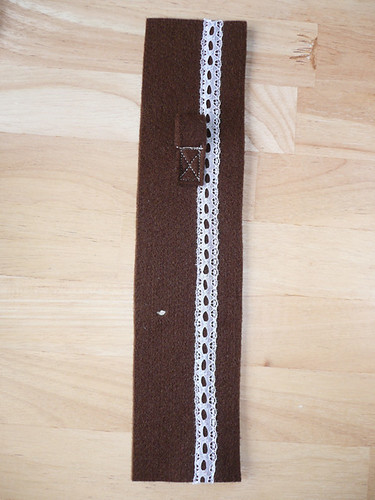
cut a piece of ribbon that is a bit longer than the piece of felt.
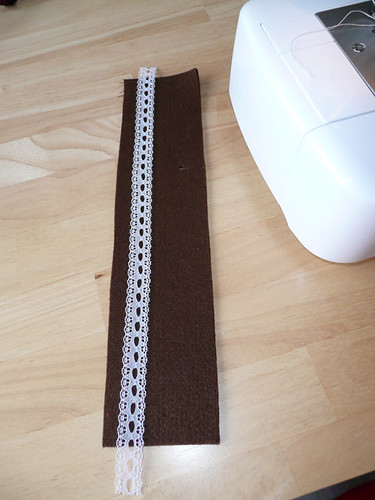
attach the ribbon to where you want it. wrap the ribbon round the edges, pin and sew. neaten the ends.
STEP 5
now you use the strap you cut off earlier. make a loop and sew. neaten the ends.
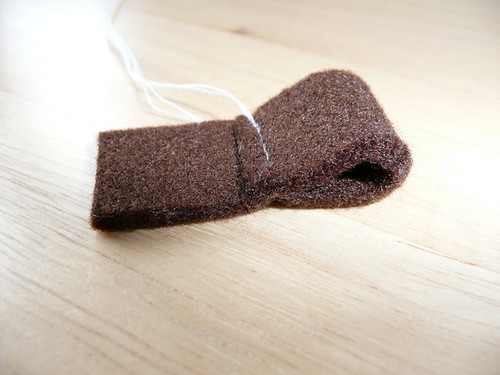
attach the hanger to the back of the cozy and sew. neaten the ends.
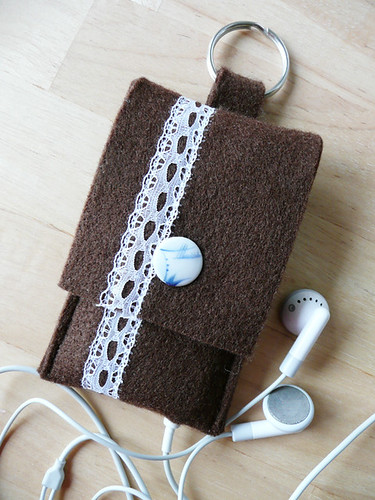
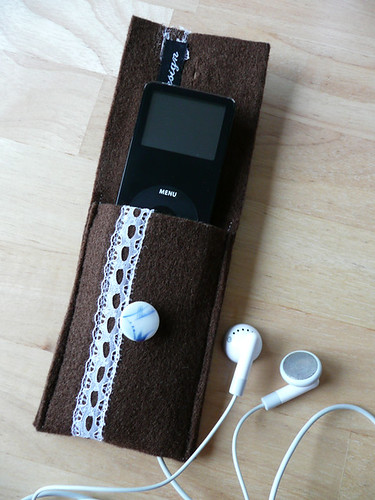
your ipod cozy should look something like that now.
STEP 6
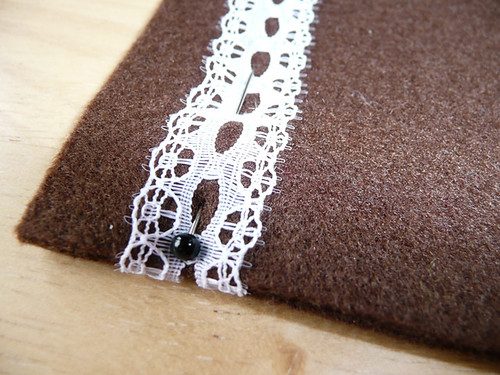
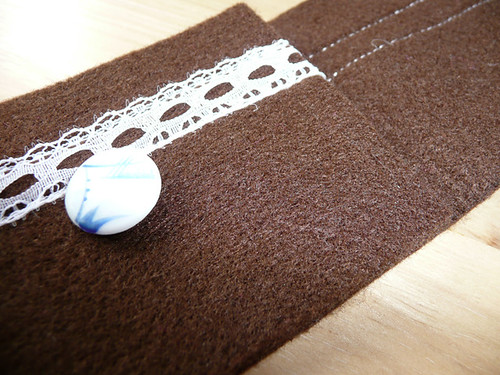
attach a button to the piece of felt you folded up.
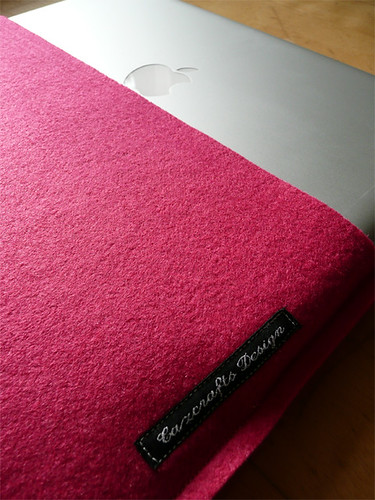
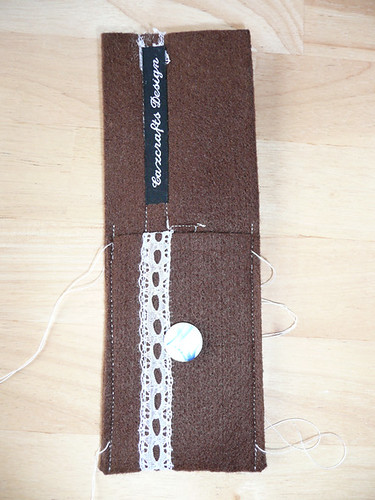
you can also attach your custom lable if you have one. i have ones you can iron on, which is good here: you need to keep in mind that you will see all the seams you make as there is only one layer of felt and no lining under which you can hide seams or yarn ends…
before you go on to the next step, make sure you are finished with all your decorations, applications, ribbons, buttons, lables etc. it will be more difficult to sew on the stuff once you did step 7.
STEP 7
fold up the lower part and sew once down the right, and once down the left side of the cozy. neaten the ends.
STEP 8
we are almost done! cut a button hole in the top flap. make sure it’s neither too small nor too big. i use sharp scissors for that, but you can also use a cutter.

STEP 9
here we go. just pull the keyring through the loop on the back and you’re done!