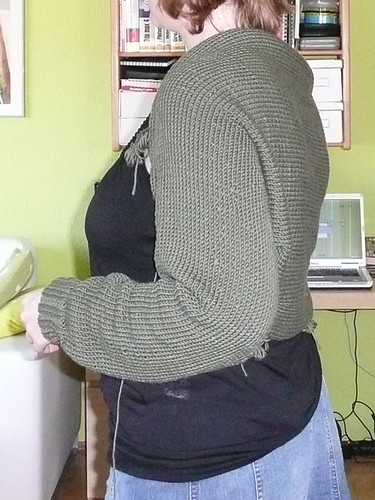
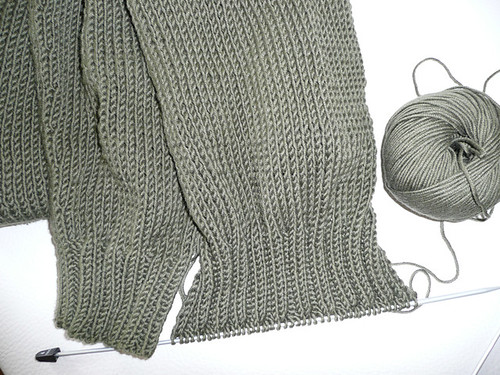
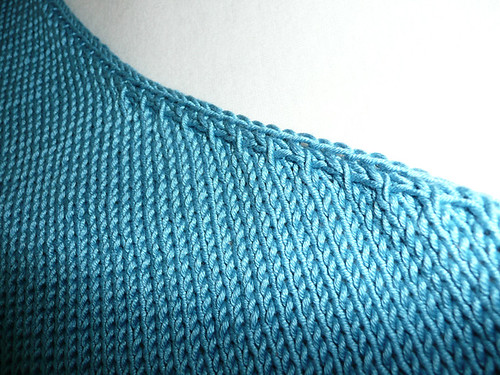
almost finished! i have to bind off the second cuff, sew the sleeves and knitt the ribbing round the neck.
almost finished! i have to bind off the second cuff, sew the sleeves and knitt the ribbing round the neck.
with over 3 weeks delay i finally got the parcel from my swap pal anne from hamburg *yippeee*
how exciting. just about to unwrap:
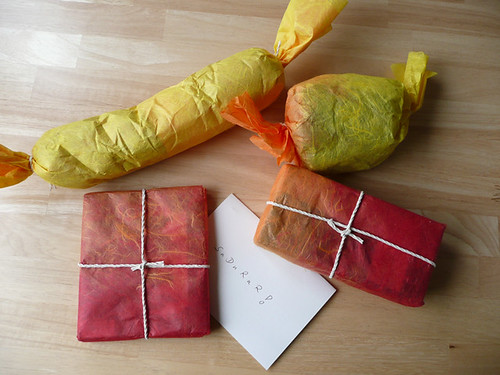
tadaaaa: socks, chocolate (i’m a chocolate addict), linkin park cd and a 150g skein of hand dyed, superwash, 100% wool sock yarn.

socks: a bit short but wearable
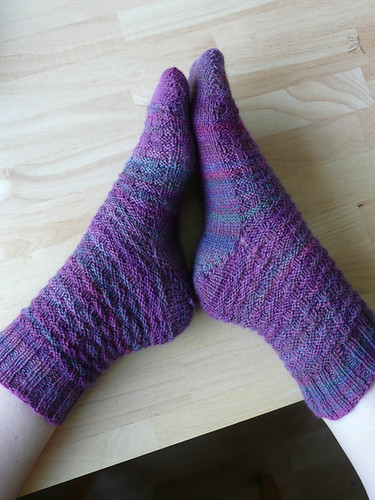
THANKS A LOT ANNE FOR THE STUFF. I LOVE IT 🙂
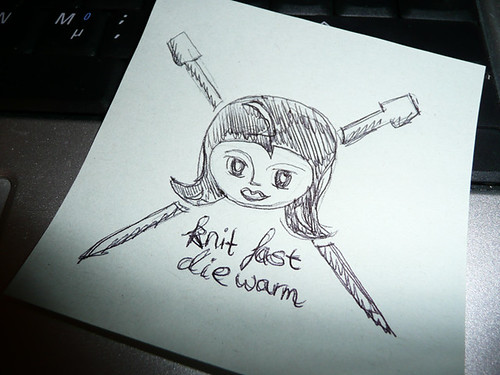
just some scribbles of a knitting maniac 😉
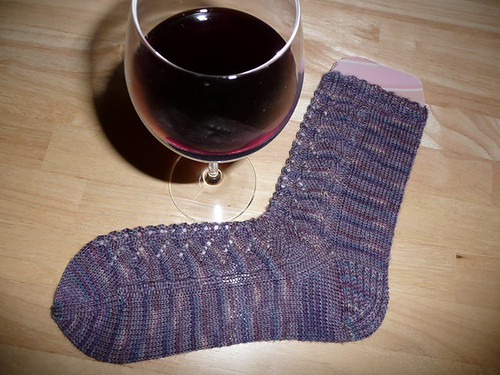
finished the first sock today!
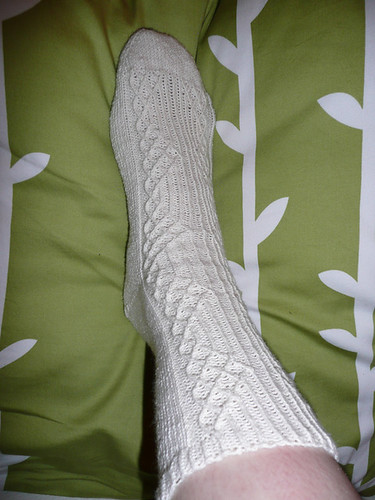
i felt like knitting non-lace socks, so i cast on these cut and paste socks! isn’t the cable pattern lovely?! it’s great to knit because you just want to go on and on to see how the pattern develops 😉 i knit it from cuff down though, not toe up as explained in the pattern… i’ve never done that before, so i didn’t want to make any experiments 😉
they’ll be really comfy as i use lana grossa meilenweit cotton strech yarn. somehow cotton feels better on my feet and this yarn is very soft and strechy 🙂
this is the first pattern repeat:

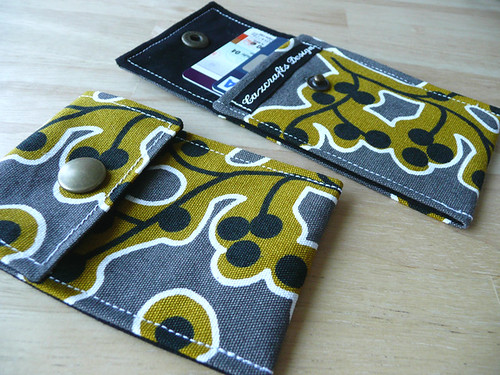
a lot of people asked me for a tutorial for my ipod cozies. so here it is:
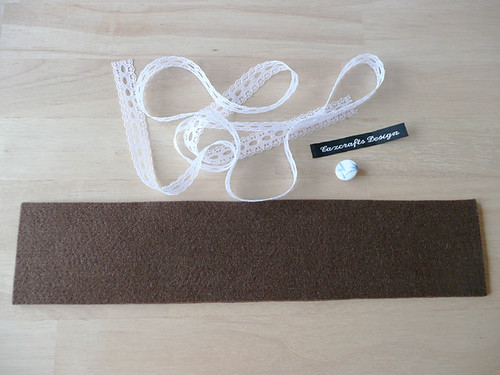
STEP 1
you need:
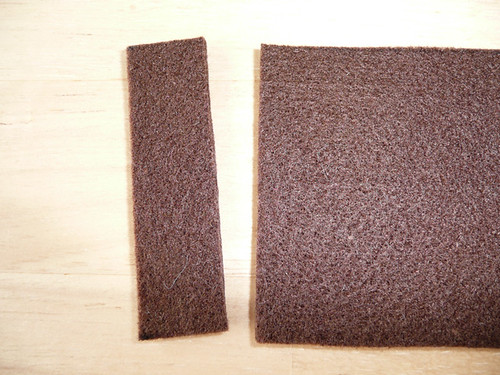
STEP 2
cut a 1.5cm piece from the bigger felt piece. you’ll need the strap to attach the keyring.
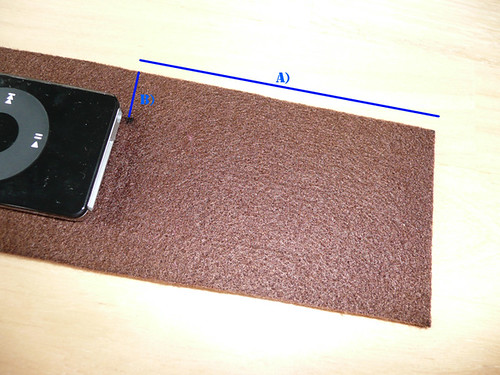
STEP 3
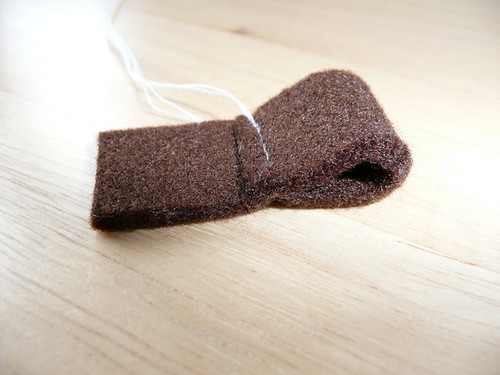
mark where the hole for the headphone cable needs to be. i usually put my ipod on the felt to see where i need to put it exactly. to give you an idea:
now you need to push a hole through the felt for the headphones. if you have a ticket-punch – brilliant. but you can use anything really. i use the things that come with snap fasteners (one of those metal things, a plastic underlay and a hammer).
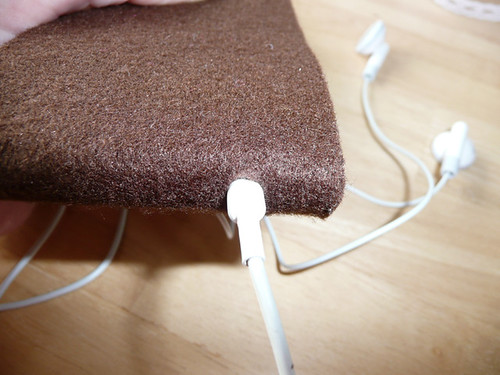
make sure the hole is big enough for the base of the headphone cable and fits snugly.
STEP 4
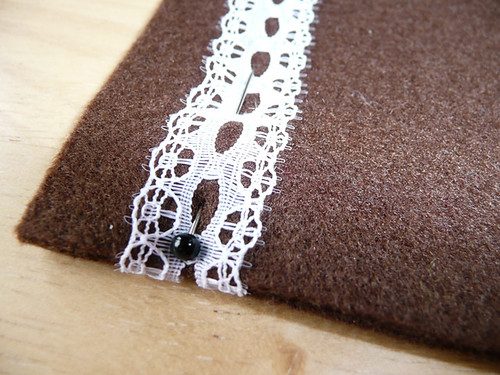
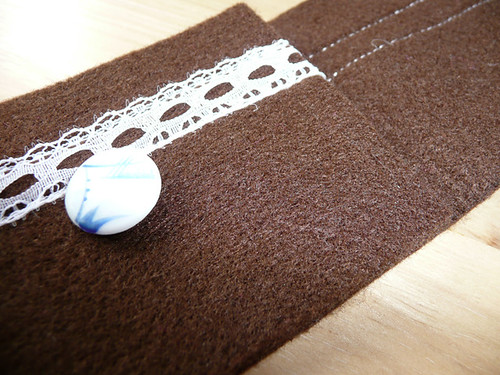
cut a piece of ribbon that is a bit longer than the piece of felt.
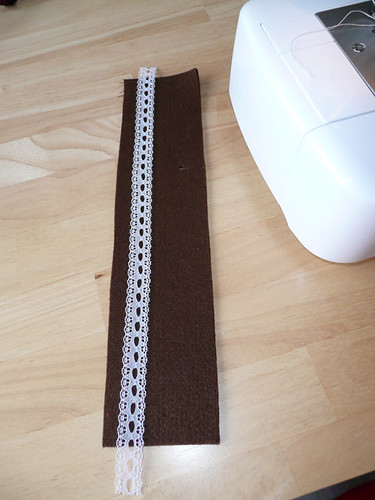
attach the ribbon to where you want it. wrap the ribbon round the edges, pin and sew. neaten the ends.
STEP 5
now you use the strap you cut off earlier. make a loop and sew. neaten the ends.
attach the hanger to the back of the cozy and sew. neaten the ends.
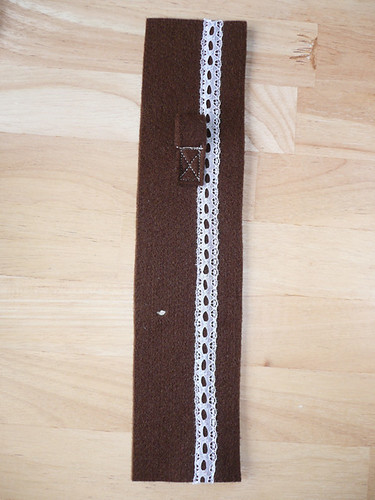
your ipod cozy should look something like that now.
STEP 6
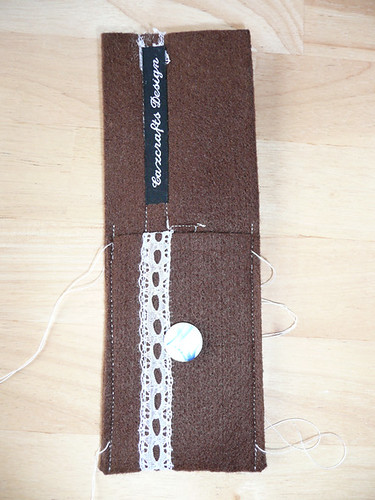
attach a button to the piece of felt you folded up.
you can also attach your custom lable if you have one. i have ones you can iron on, which is good here: you need to keep in mind that you will see all the seams you make as there is only one layer of felt and no lining under which you can hide seams or yarn ends…
before you go on to the next step, make sure you are finished with all your decorations, applications, ribbons, buttons, lables etc. it will be more difficult to sew on the stuff once you did step 7.
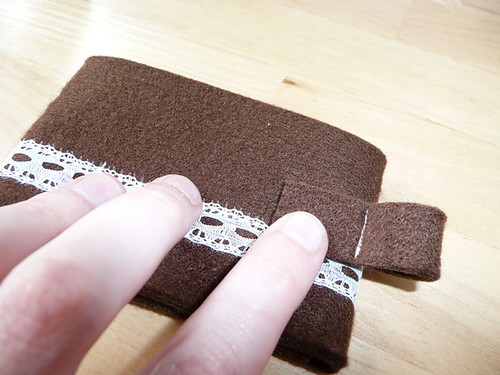
STEP 7
fold up the lower part and sew once down the right, and once down the left side of the cozy. neaten the ends.
STEP 8
we are almost done! cut a button hole in the top flap. make sure it’s neither too small nor too big. i use sharp scissors for that, but you can also use a cutter.

STEP 9
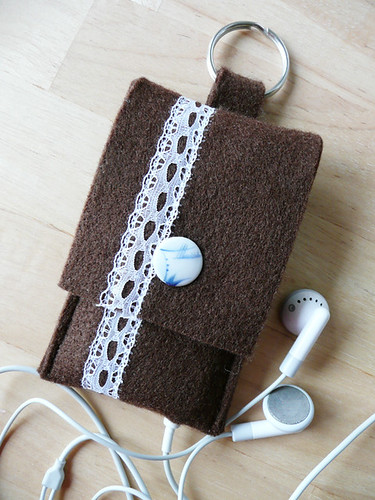
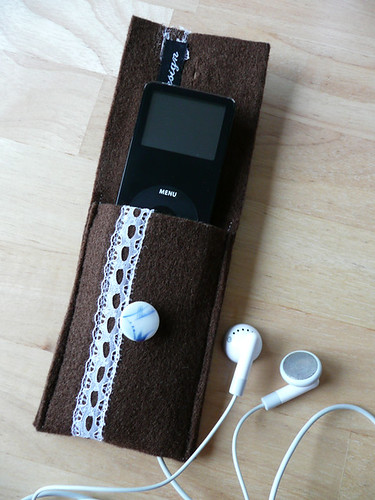
here we go. just pull the keyring through the loop on the back and you’re done!
oooh, i’ve been looking at some of the other girls‘ blogs to see what they got from the socks, drugs and rock’n’roll swap . i can’t wait to get my parcel! i’ve been warned by my swap pal that she will be late because the „rock’n’roll“ didn’t arrive yet… so i guess i just have to wait. but it’s hard! 😉
but i’m almost as curious to see what my swap pal mangomilch thinks about the things she got from me. i SO hope the socks will fit… and will be liked of course 🙂 she’ll have opened the package by now, so i don’t spoil the surprise by showing you my creation (+ more photos here):


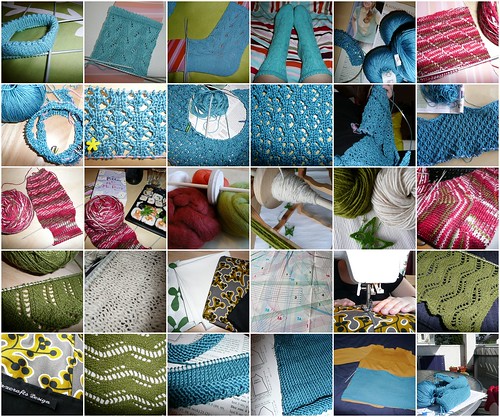
see all my crafting 365 photos here